Google+
Mostrando entradas con la etiqueta Transformación. Mostrar todas las entradas

miércoles, 8 de enero de 2014

De Verde Limón - In Green Lime

Año nuevo, nueva deco. New Year, a new decor.

Dale a tu casa, departamento o tu dormitorio un cambio de look. Get your home a new look.

Refresca tus ambientes con un toque de verde limón, puedes ir desde una renovación total o basta tan solo añadir un pequeño elemento. Refresh your home with lime green color.


Ideas muchas, acá comparto con ustedes algunas. Many ideas, here some that I love.

Renueva una mesita, píntala, la transformación es mágica. A magical transformation painting a little table.


Añade nuevos cojines. Make some new pillows.


Renueva tu ropa de cama. Buy a new bedding.

Via. VangViet

Decora la mesa usando fruta. Decor your table using fruit.


Pon flores frescas en tonos verdes. Estas hortencias estan preciosas!! Put some fresh green flowers. This hydrangeas are beautiful!


Be Happy!!!


Leer más...

miércoles, 2 de enero de 2013

Renovando Mesa de Noche

Hola a todos, este es un tutorial sobre como transformar y renovar una vieja mesa de noche a otra con estilo.

Hello everybody, this's a tutorial how to remake a night stand table to a beautiful piece of furniture.


Paso a Paso:

1.- Limpiar bien la pieza, lijar con lija fina para eliminar cualquier impureza. Clean and sand all the piece.


2.- Preparar la pintura, yo he usado dos tonalidades. Take two colors of paint.


3.- Pintar el fondo con el color base( claro), y luego ir matizando con el otro color, húmedo sobre húmedo. First paint with the light color and then with the other, wet on wet.


4.- Cuando la pintura esté seca, envejecer algunas partes con betún de judea. Retirar el exceso con un trapo hasta lograr el tono deseado. When the paint is dry aging parts with bitumen of judea. Remove excess with  a cloth until the desired tone.


5.- Conseguir unos tiradores de estilo. Get some beautiful style knobs.


6.- Medir y centrar bien para hacer las perforaciones para los tiradores. Mesure and center well to make holes for the knobs.


 7.- Con la ayuda de un taladro hacer las perforaciones. With the help of a drill make the holes.


 8.- Lijar algunas esquinas para darle un toque de desgastado al mueble. Sand some corners to take a vintage look.


 9.- Encerar bien toda la pieza, para darle protección. Wax all the piece to protect it.


Esta es mi nueva mesa de noche!
This is my new nigh stand table!


Leer más...

martes, 26 de junio de 2012

Embelleciendo Individual - Embellish Placemat

Hola a todos, se me ocurrió darle algo de personalidad a unos individuales de bamboo. Con pocos materiales se puede lograr cambiar de look. Hello my friends, this is a crafty idea to how  embellish bamboo placemats with few materials. 


1. Buscar una cinta de florecitas, tienen que ser planas. Check for a flower ribbon.


2. Cortar una por una las pequeñas flores. Cut the littles flowers one by one.


3. Hacer unos corazones de un jean reciclado, con la tijera zig-zag. Make some hearts using a reclycled jean and a zig-zag scissors.


4. Darle un pespunte al corazón y pegarlo con pegamento de contacto, al individual de bamboo. Pegar las florecitas de tela sobre el corazón con silicona líquida. Make some stichs to the heart, stick it to the bamboo placemant with adhesive. Paste the flowers to the fabric using silicone.


5. Estampar el motivo que más le guste utilizando  un sello sobre un pedazo de tela y pegarlo al individual. Stamp a beautiful frase into a piece of fabric and then stick it to the placemat.


6. Dejar secar y listo para usar. Yo hice cuatro individuales con un sólo corazón a la derecha y un tapete de centro de mesa. Let dry and is ready to use. I made four placemants with one heart and one to put as centerpiece.


Love you all!


Leer más...

miércoles, 14 de marzo de 2012

Tijeras ZigZag - Pinking Sheards


Estoy estrenando mi nueva tijera Zig-Zag!!! Esta tijera corta la tela de forma dentada. Se utiliza mucho para trabajar apliques en tela y fieltro. Son perfectas para los remates de los bordes, evitando así el deshilachado de la tela.

Today is the debut of my new Pinking Sheards!! This is an special scissors that cut in a Zig-Zag pattern. Is often use to create aplications of fabric and felt. They are perfect to prevent row fabric edges from fraying.


Yo estoy haciendo unos corazones reciclados de un jean en desuso .....  bueno, debo seguir cortando. Now, I'm making some hearts of one recycled jeans ...... well, I must keep cutting.


Leer más...

martes, 15 de marzo de 2011

Colocando Persiana - Installing Blind

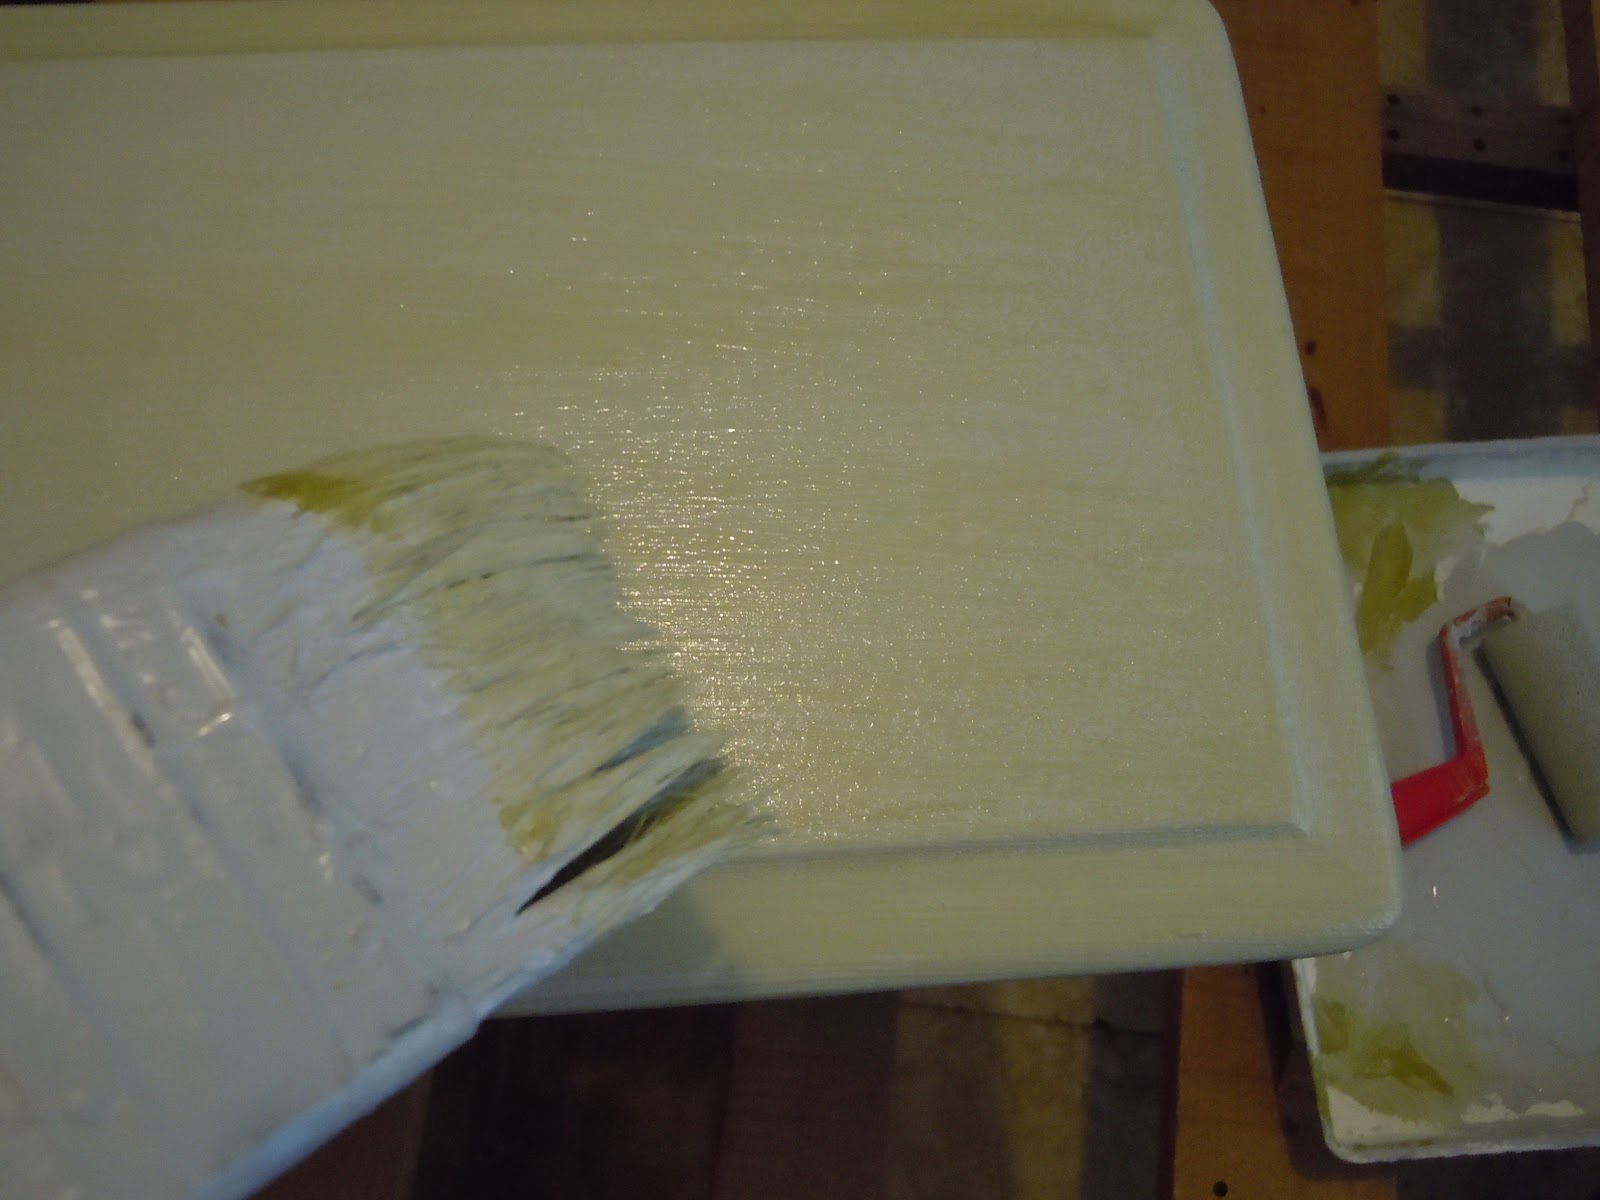
Estoy reorganizando mi pequeño taller, después de una buena mano de pintura, procedí a instalar una persiana de pvc para cerrar una estantería que no tiene puerta.
I'm  reorganizing my small atelier, after a good coat of paint, I proceeded to install a pvc blind to close an open shelf.

Estas persianas de pvc, son relativamente económicas, ya vienen pre fabricadas en diferentes medidas, felizmente encontré una que daba perfectamente a la medida. 
These PVC blinds are relatively inexpensive, and come pre-fabricated in different sizes, lucky me, I found one that was perfectly tailored.


Se deben colocar los soportes en cada esquina, midiendo adecuadamente el tamaño de la persiana. The brackets  should be placed at each corner, adequately measuring the size of the blind.


Luego proceder a marcar con un lápiz donde irán los tornillos, con la ayuda de un clavo y martillo perforar un poco la madera, de esta forma el tornillo entrará más fácilmente.
Dependiendo  del ancho de la persiana, también se necesitará poner un anclaje al centro.

Then proceed to mark with a pencil where the screws go, with the help of a nail and hammer drill a little, so the screw will enter more easy. Depending on the width of the blind, you also need to anchor the center.


Se encaja la persiana sobre los soportes y se cierra con el tope de seguridad, y queda lista!!! Fit the blind on the brackets and close with the safety cap, and it's ready!!!


Nos vemos pronto! See you soon!


Leer más...

jueves, 7 de octubre de 2010

Transformando Porta Torta - Transforming Cake Carrier

Estoy trabajando en algunas cositas para mi cocina, renovando y añadiendo algunos detalles. Quizá se acuerden de mi porta torta de mimbre, ahora luce así, lindo verdad!!!

I'm working on some stuff for my kitchen, renovating and adding some details. Perhaps you remember my wicker cake carrier, now looks like this, really cute!


Así lucía antes de la transformación. Here it is before the transformation.


Lo pinté de blanco, con pintura en spray, este es un método rápido y de buenos resultados para el mimbre. I painted it white with spray paint, this is a fast way and good results for wicker.


Algunas cintas y flores de papel, un poco de silicona caliente y a dejar volar la imaginación. Some ribbons and paper flowers, hot glue and be creative.


¡Hasta la próxima! Till next time!


Linking to:


Leer más...

miércoles, 4 de agosto de 2010

Renovando Toallero - Towel Holder Revamp


Decidí renovar este toallero, ya que tenía varias partes oxidadas, y no se veía bien. I decided to renew this towel holder, because it had rusted and didn't look good.


Antes de pintar hay que lijar bien la pieza con una lija fina para no arañarla, luego limpiarla cuidadosamente sin dejar ningún residuo de polvo. Before painting the piece must be sanded thoroughly with fine sandpaper, and remove all traces of dust.


Lo pinté con pintura en spray blanca, que para este tipo de proyectos es excelente! I painted with white spray paint, which for this proyects is excellent!


Ahora luce muy Shabby Chic!!! Now it looks very Shabby Chic!!!


Nos vemos pronto! See you soon!


Leer más...

lunes, 26 de julio de 2010

Casa de Pajarito - Birdhouse


Decorando un pequeño rincón de mi casa, junté varios elementos y éste fue el resultado. I put together some pieces to decor a little corner of home, the result was this, a birdie tabletop.


El pajarito con su nuevo "look", para ver la transformación hacer click acá. The birdie with his new look, to see his transformation, click here.


La casita la pinté hace ya algún tiempo, le agregué un poco de musgo para crearle un hogar más acogedor a mi dulce amigo. I painted the birdhouse long time ago, added some moss to made a cozy home for my sweet friend.


Un puñado de flores frescas! Some fresh flowers!


Anímense a juntar algunas cosas, se sorprenderán de los resultados! Put together some pieces, you will be amazed with the results.


Posteado para: Linking to:


Cariños, Hugs


Leer más...

sábado, 24 de julio de 2010

Pajarito a Maquillarse - Birdie Makeup


Estuve trabajando en una pequeña decoración para una mesita de mi sala, pero el personaje principal no encajaba del todo bien. Era necesario someterlo a una transformación!

I was working in a tabletop for my living room, but the main character not fit quite right. He must have a little transformation!


Tenía que cambiar el color de su cabeza, ésta era muy anaranjada. I must change the color of his head, it was too orange.


Pintarlo con pintura ... No! Un poco de Maquillaje ...Si!
Painting ... No! A little of Makeup ... Yes!


Algunos toques mágicos
Some magical touches.


Se ve muy natural y tierno. He looks so real and sweet.


Manténganse sintonizados para enseñarles como quedó todo el arreglo final. Stay tuned, to see the final tabletop.


Happy Pink Saturday!!!


Posteado para: Linking to
Pink Saturday de Beverly

Leer más...