
Hola a todos, este es un tutorial sobre como transformar y renovar una vieja mesa de noche a otra con estilo.
Hello everybody, this's a tutorial how to remake a night stand table to a beautiful piece of furniture.
Paso a Paso:
1.- Limpiar bien la pieza, lijar con lija fina para eliminar cualquier impureza. Clean and sand all the piece.

2.- Preparar la pintura, yo he usado dos tonalidades. Take two colors of paint.

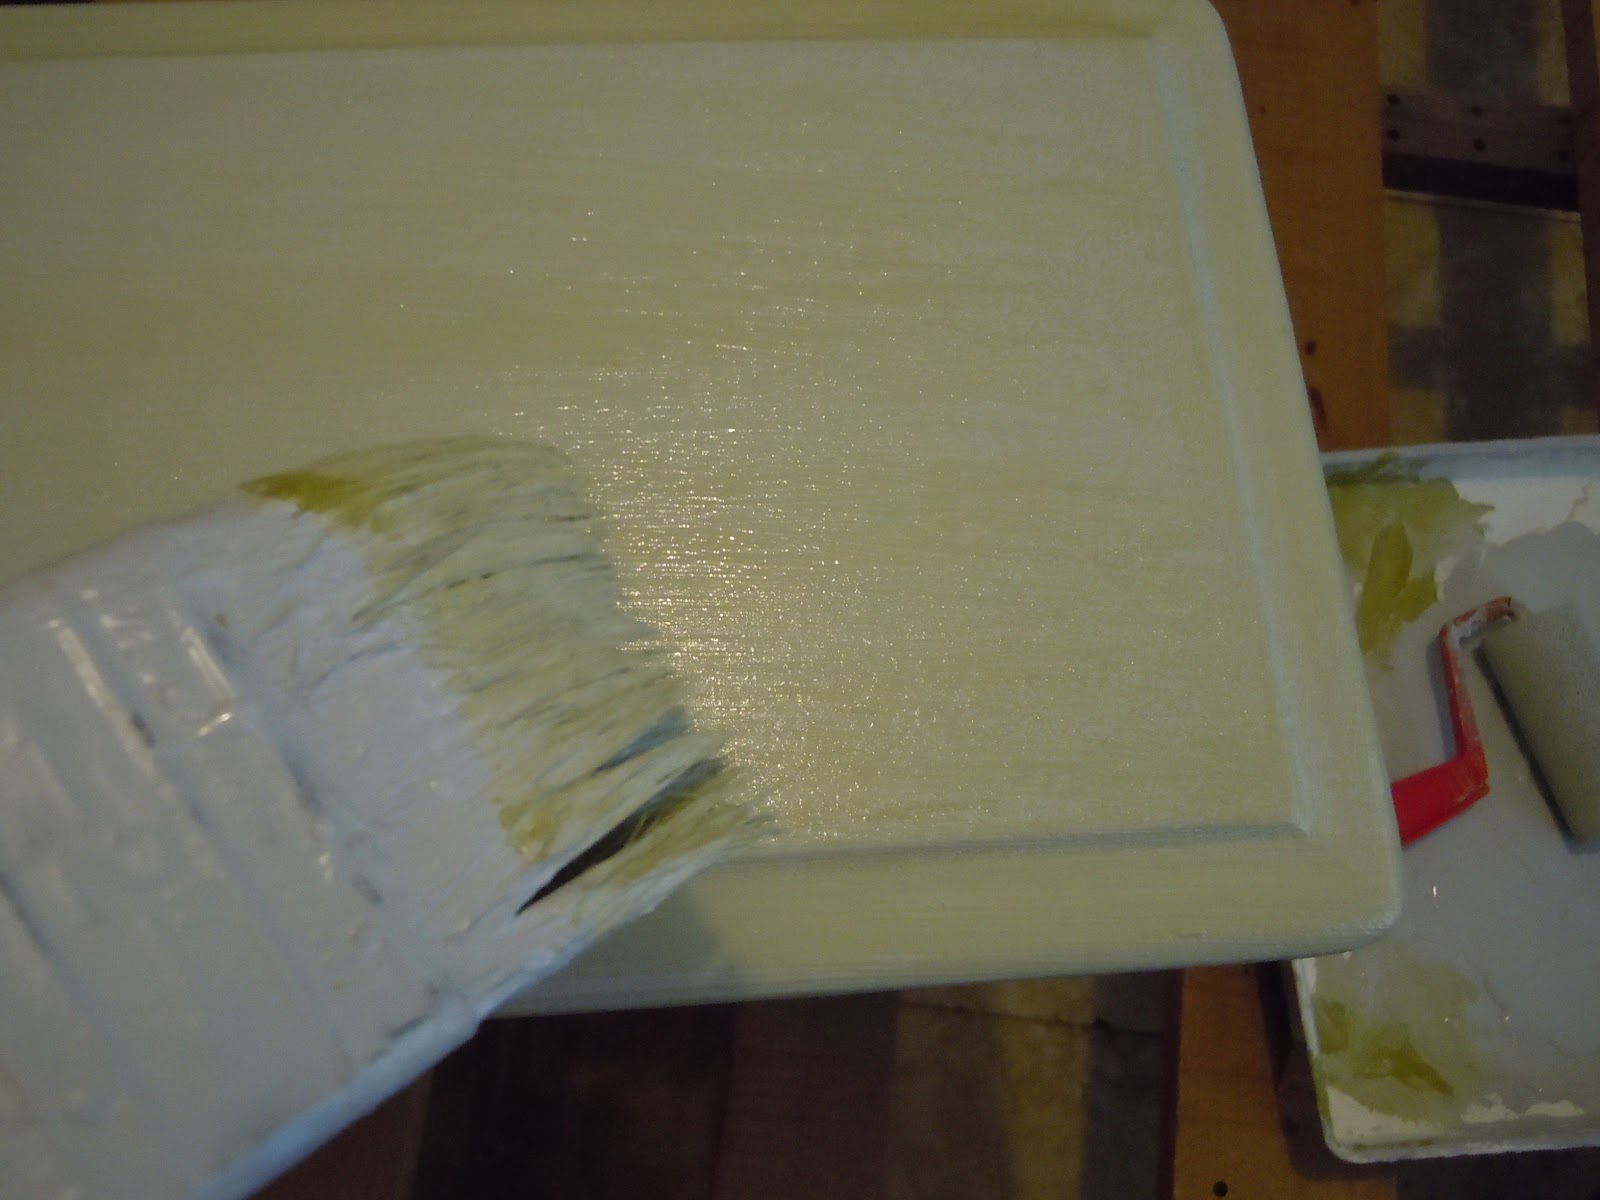
3.- Pintar el fondo con el color base( claro), y luego ir matizando con el otro color, húmedo sobre húmedo. First paint with the light color and then with the other, wet on wet.
4.- Cuando la pintura esté seca, envejecer algunas partes con betún de judea. Retirar el exceso con un trapo hasta lograr el tono deseado. When the paint is dry aging parts with bitumen of judea. Remove excess with a cloth until the desired tone.

5.- Conseguir unos tiradores de estilo. Get some beautiful style knobs.

6.- Medir y centrar bien para hacer las perforaciones para los tiradores. Mesure and center well to make holes for the knobs.

7.- Con la ayuda de un taladro hacer las perforaciones. With the help of a drill make the holes.

8.- Lijar algunas esquinas para darle un toque de desgastado al mueble. Sand some corners to take a vintage look.

9.- Encerar bien toda la pieza, para darle protección. Wax all the piece to protect it.

Esta es mi nueva mesa de noche!
This is my new nigh stand table!

te ha quedado fenomenal!!!
ResponderEliminarla verdad es un proyecto granmde ...me dan miedo esos asi!!
muy muy lindo y te felicito!
✫¸.•°*”˜˜”
..✫¸.•°*”˜˜”*°•.✫
☻/ღ˚ •。* ♥♥ ˚ ˚✰˚ ˛★* 。 ღ˛° 。* °♥ ˚ • ★ *˚ .ღ 。
/▌*˛˚ ░ ░ٌٌٌ♥Marie ˚ *
/ \ ˚. ★ *˛ ˚♥♥* ✰。˚ ˚ღ。* ˛˚ ♥♥ 。✰˚* ˚ ★ღ ˚ 。✰ •* ˚ ♥♥" ✰˚ ♥* ♥♥
✫¸.•°creacionesartisticas-marie.blogspot.com°•.✫
HOLA BUENOS DIAS. INTERESANTE Y BONITO TU BLOG..
ResponderEliminarAHORA TE SIGO, TE INVITO A VISITARME, SERAS BIENVENIDA.. SIEMPRE.
ZHOBEYDA.
Me encanta el cambio que le has dado, parece nueva y muy actual.
ResponderEliminarUn besazo guapa.
Hi Charo,
ResponderEliminarGreat tutorial and the piece turned out gorgeous. Thank you for sharing your steps. Also, thank you for stopping by and your kind comment. So nice to see you. Have a great weekend.
Hugs, Celestina Marie
This is wonderful! I would love to find a cute table like that here in Dallas. You have such a pretty blog! Thank you for your visit, and have a wonderful weekend!
ResponderEliminarxo, Andrea
Hola Charo,
ResponderEliminarTe quedo fantastica! Como estas?
Gabriela